I played with a number of recipes and techniques to come up with a hummus recipe that rivaled what we had experienced in the Mykonos. Now a staple in our house, this recipe for homemade hummus has quickly become a favourite with family and friends and is a guaranteed hit at any get-together, converting even the fussiest palates to hummus lovers. Its smooth and creamy texture is heaven to the tongue and the light garlic flavouring means there is room for the flavours of the tahini and chickpeas to come through. Together they create a completely delightful taste that beautifully accompanies pita, naan, meats and vegetables.
Some tips for great hummus…
- Use dried chickpeas not canned chickpeas. Take the time to soak dried chickpeas. The flavour, texture, and colour is fundamentally better not to mention this gives you complete control on your salt.
- Remove the skins from the chickpeas. In terms of actual work this is probably the most time-consuming step – taking about 10 minutes of rinsing and separating, but totally worth the effort. The skins, if left in the mix, are what makes a hummus dry and pasty. By removing the skins you end up with a wonderful creamy texture. To remove the skins, strain the cooked chickpeas, reserving the liquid in a bowl. Working across 2 strainers, rinse the chickpeas in one strainer and scoop some chickpeas into one hand and run cool water over them, slightly spreading yours fingers to allow the skins and water to pass through but keeping the clean peas in your hand. Place the rinsed chickpeas in the other strainer. Repeat and this time place the cleaned chickpeas into the reserved liquid. Repeat until you have cleaned all the chickpeas. Cover the bowl with the cleaned chickpeas and set aside until you are ready to make the hummus.
- Go easy on the garlic. In my family we love our garlic but to allow the subtle flavours to come through you need to exercise some restraint.
The Recipe for Homemade Hummus
– 1 tsp baking soda
– 1/3 cup olive oil
– 1/3 cup tahini
– 1/4 cup fresh lemon juice (or the juice of 1 lemon)
– 1 medium to large sized clove garlic
– 1/2 tsp ground cumin
– 1 tsp kosher salt
– 2 or more tbsp. of reserved liquid from cooking the chickpeas
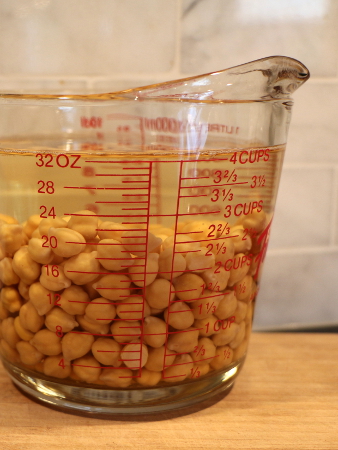 Place the chickpeas in a large measuring cup or bowl and cover with roughly 3-4 cups of water. Let this sit overnight or for roughly 10-12 hours. The chickpeas will immediately start to expand and should more than double their size.
Boil a kettle of water to use for cooking. Drain the chickpeas and place in a small saucepan. Add the baking soda and cook on medium heat until the baking soda has finished bubbling up. Add enough water from the kettle to cover the chickpeas and boil for 5 minutes. Turn the heat off and let the chickpeas sit for 15 minutes in the hot water.
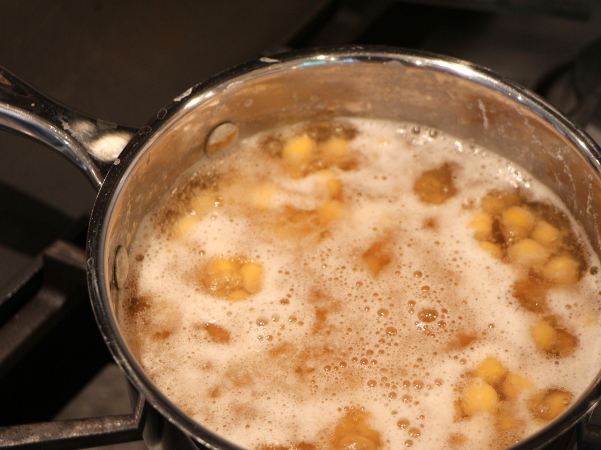
Don’t cook the chickpeas any longer than this. They will turn to mush and it impossible to separate out the skins ( i.e you have to start from the beginning again.)
At the end of the 15 minutes, strain the chickpeas, reserving the liquid in a bowl large enough to hold both the liquid and the chickpeas.
Next remove the skins. Do this across two strainers. Rinse the chickpeas in one strainer and scoop some chickpeas into one hand. Run cool water over them, spreading your fingers slightly to allow the water and skins to pass through but keeping the clean chickpeas in your hand. Place the rinsed chickpeas in the other strainer. Repeat, and this time place the cleaned chickpeas into the reserved liquid. 
Repeat this process until you have cleaned all the chickpeas. Cover the bowl and set aside until you are ready to make the hummus.
Just before making the hummus, strain the chickpeas again, reserving the liquid. Next add all the ingredients to the food processor, except for the reserved liquid.
Puree, scrape down the sides, and puree again. Check the texture of the hummus. For a creamier texture, add some of the reserved liquid, 1 tbsp. at a time and continue to puree. Note: Once refrigerated the hummus will become thicker.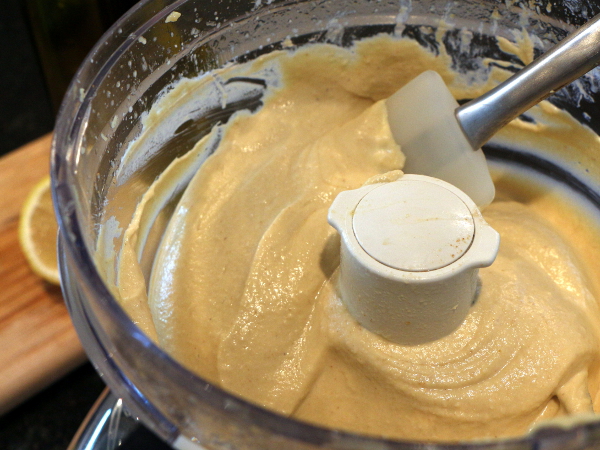
Do a taste test to determine if any additional salt is needed. Store in an airtight container in the refrigerator.
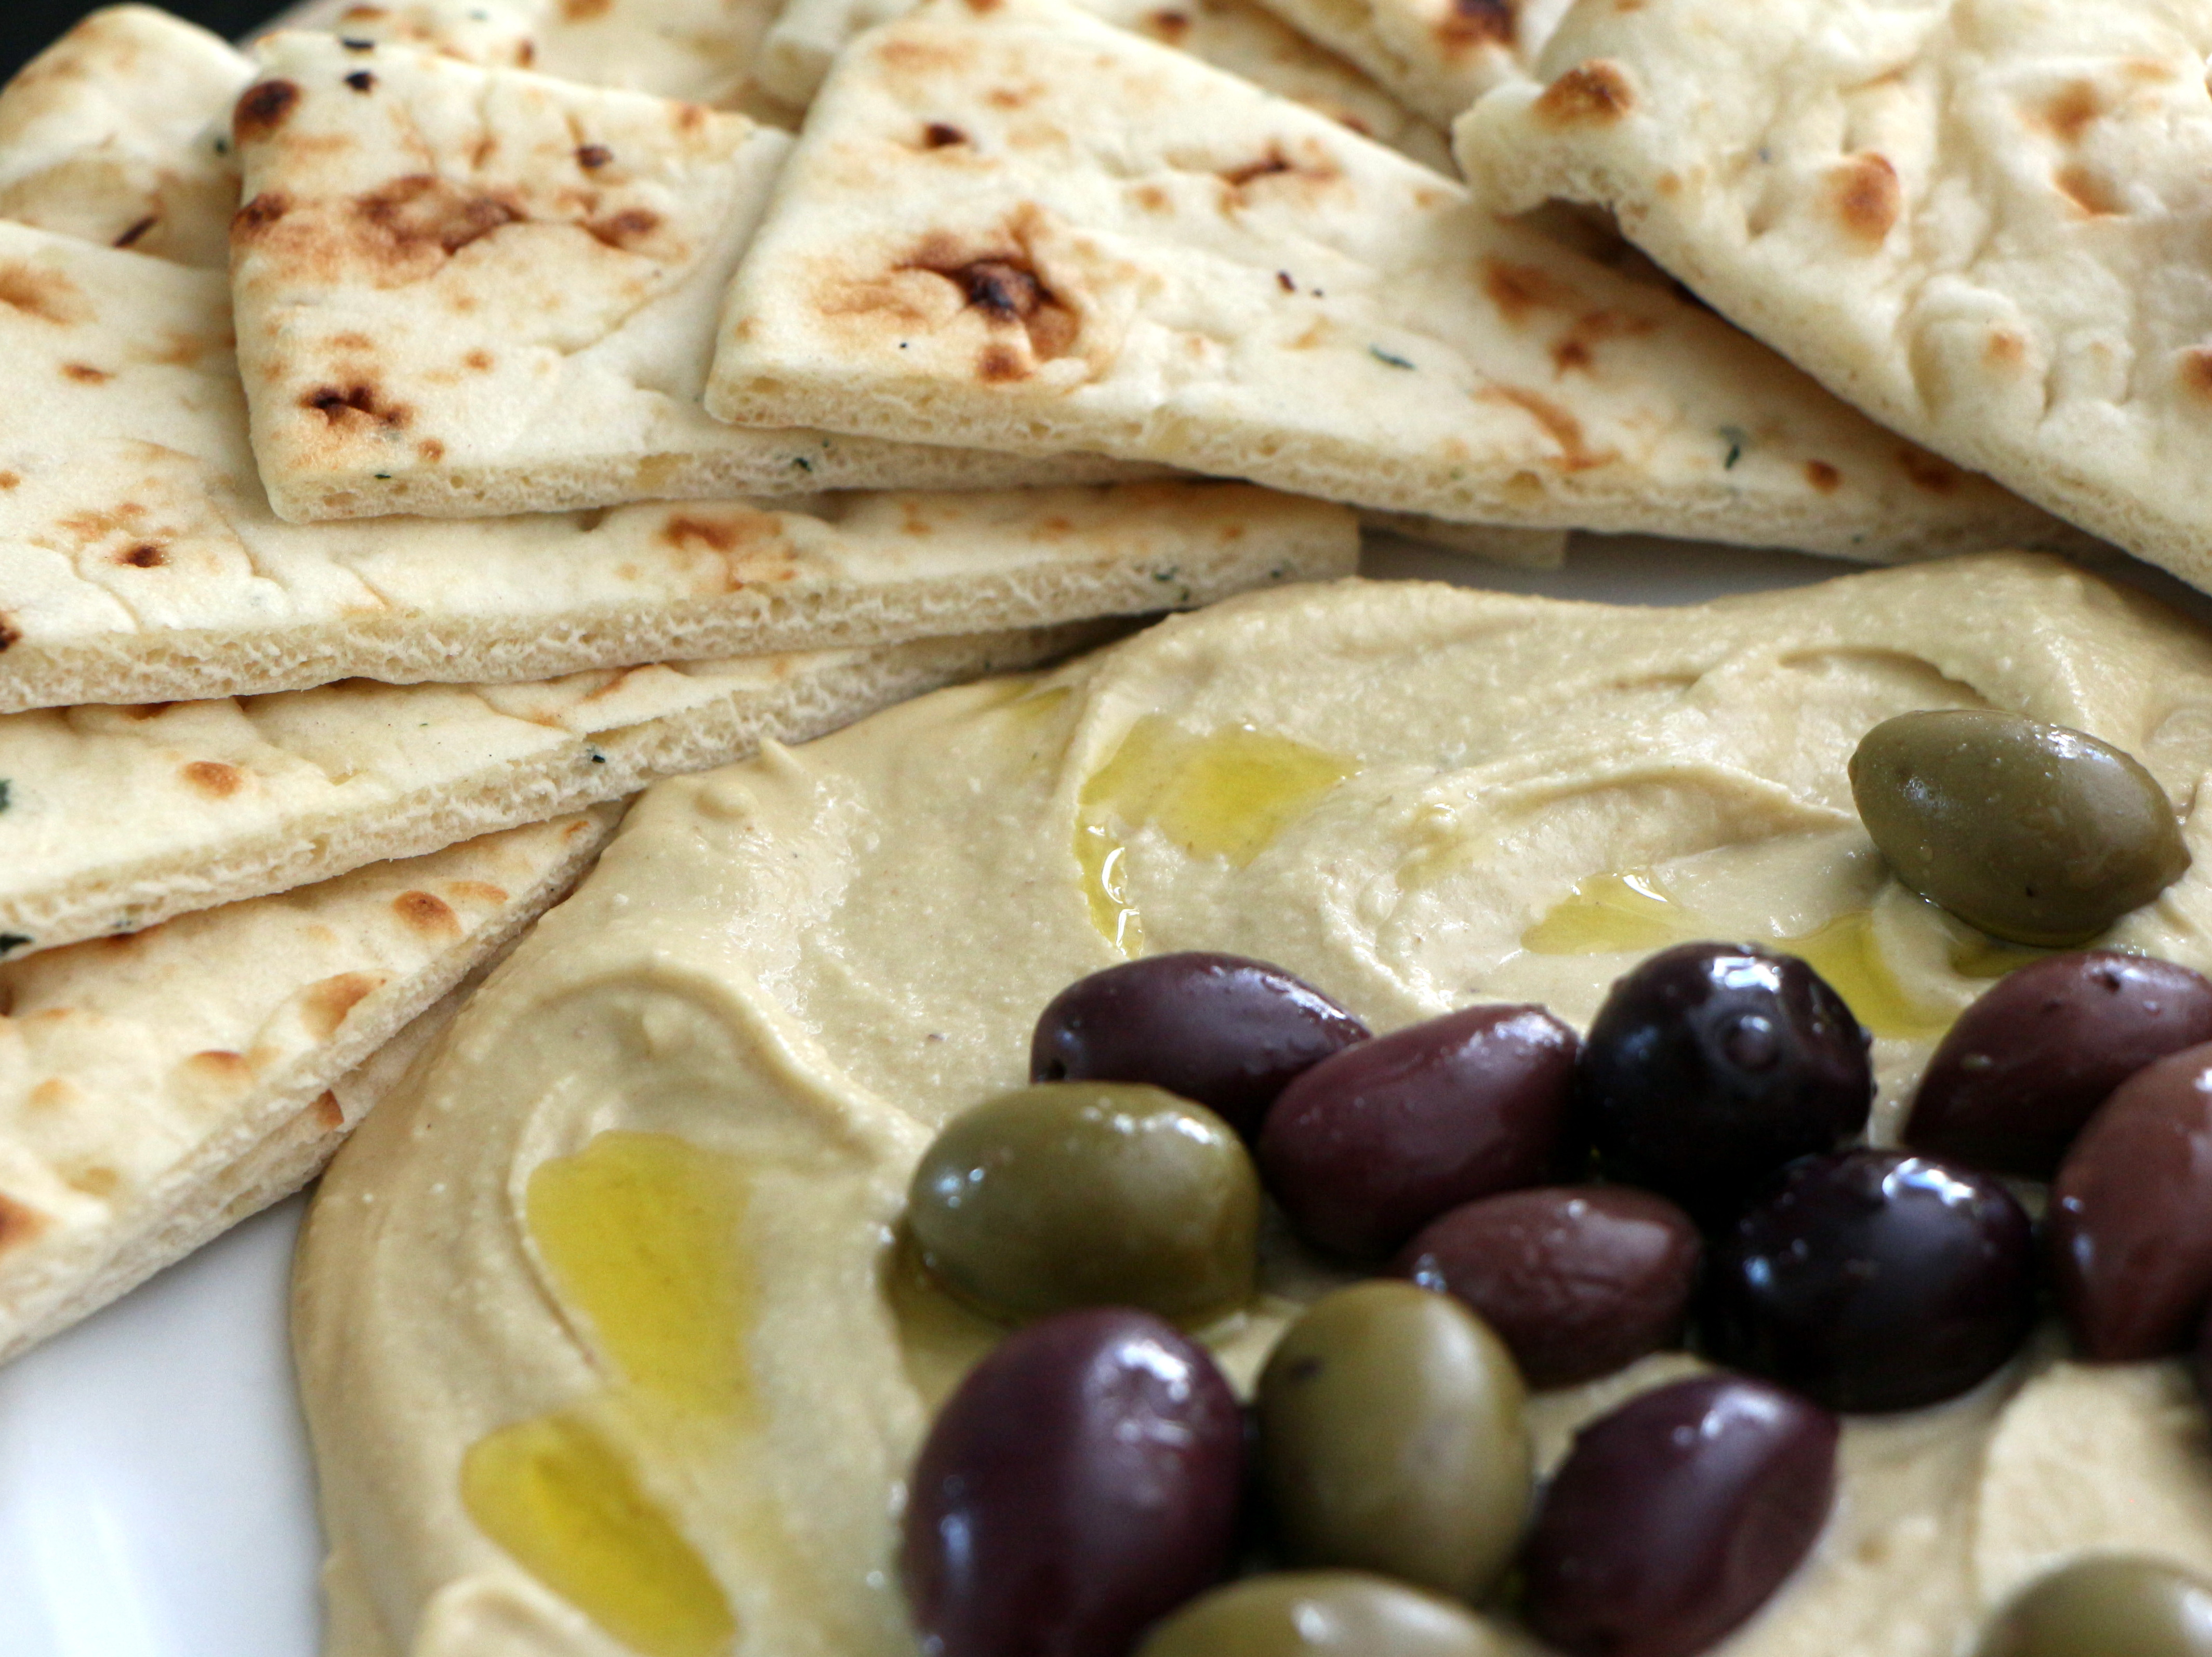
To serve, place large spoonful’s on a plate and lightly spread. Drizzle with olive oil and sprinkle a few olives on top and surround with your favourite accompaniment. We like to serve this with naan.
Enjoy!!


Leave A Comment